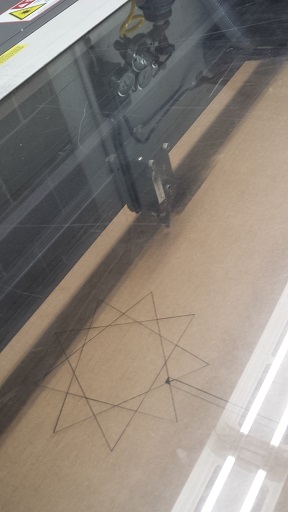
It is my first time using a laser cutter! And it is quite user-friendly. The laser cutter works pretty much the same way as a printer, with the laser cutter head moving from left to right across each line and move on to the next line when it finishes "printing" the previous one. In this first training session I played a little bit with the power, speed, PPI (points per inch) and image density settings.
Here's the first try:
For the second task I tried engraving the surface of the cardboard. I used a circle that gradually changes in darkness and contrasted it with a solid dark circle. Here's the design and the end product:
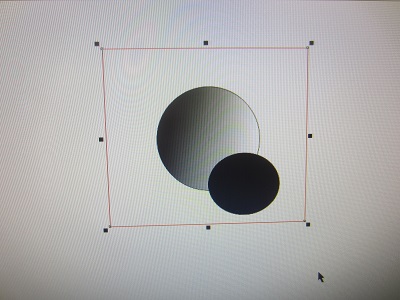
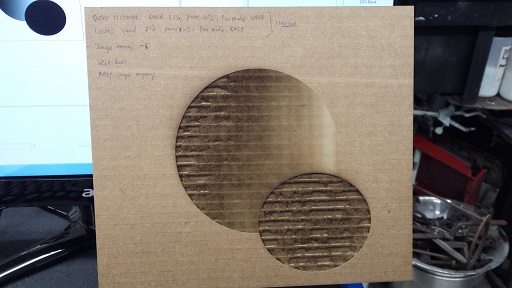
I used the same settings as above to cut out the red lines. For the two circles, I used the following settings:
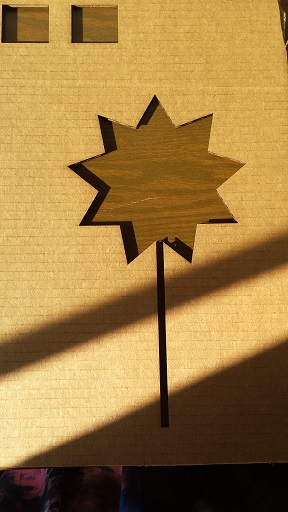
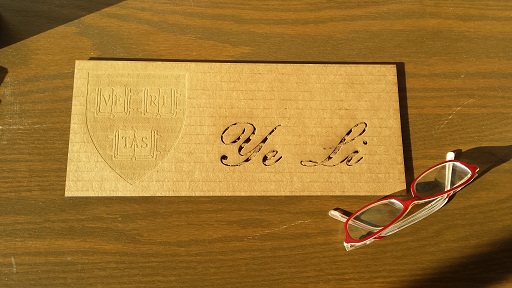
Then I thought I might want to make a name tag for myself, perhaps with a school logo on it! I used an image of the logo that I found online, and the image is in png format.
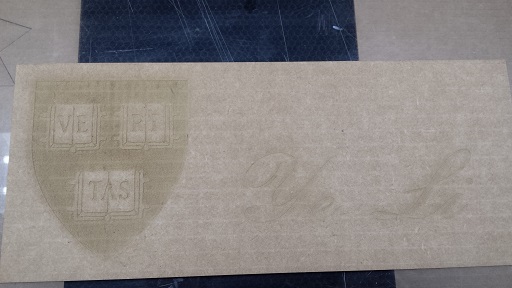
Rob (our lab instructor) and I were initially wondering how the png image would be treated - would the details in the logo be ignored somehow, because most of it is in crimson color? Thankfully, the logo was properly "printed", and since I was using 50% speed and 50% power (half as the previous one), a "debossed" relief image of the logo was created. I also changed the image density to -3, and this time we could even see traces of each of the lines that the laser made on the surface, and this gives the surface a woven kind of texture (like a piece of woven fabric).
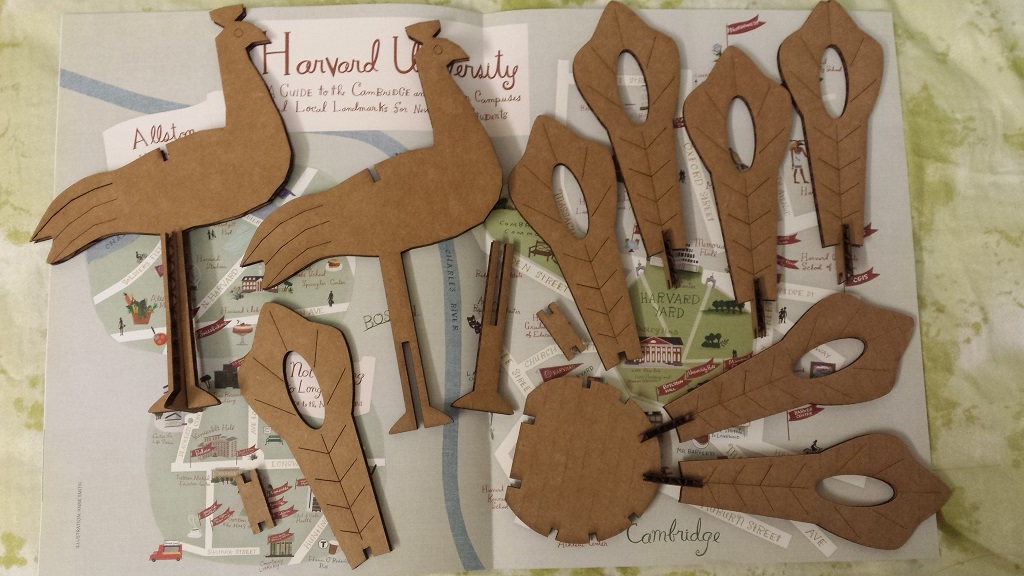
For this week's assignment we need to make a press-fit construction kit. Inspired by a peacock toy that I found online, I simplified the design a little bit and came up with a very primitive version of the peacock using Inkscape (I'm still trying to learn how to use the software):

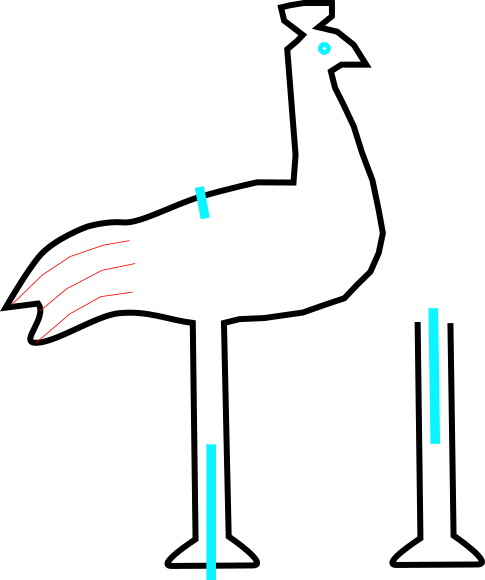
I worked with Albert on figuring out how wide the notches should be. The thickness of the cardboard measures about 0.16 in or 4.10 mm; so we made the notches about 0.16 inches wide, but after cutting out the shapes we realized that the laser actually burned away some of the material as well, and the notches ended up being 0.18 inches wide and were too loose. So we had to re-adjust the notches to 0.14 inches instead, to account for the loss of the material.
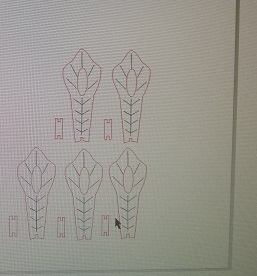
The computer that was connected to the laser cutter uses CarelDRAW to print. I had to go back and forth between Inkscape and CarelDRAW to adjust the design of the peacock, especially because the images didn't import exactly as they were. I had to unlock the imported image and ungroup all objects in order to make edits to individual parts of the design. Here's how the design evolved along the way:
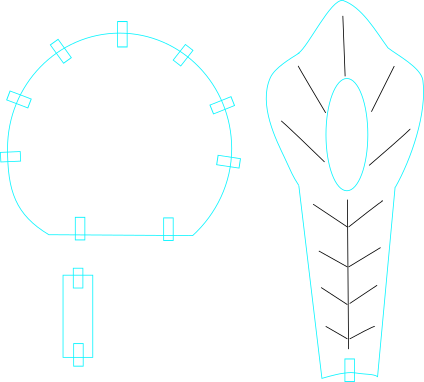
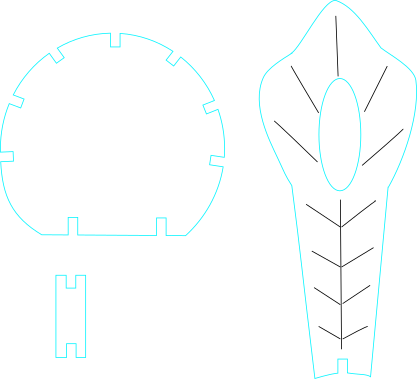

Here are the files for the peacock's feathers and body.
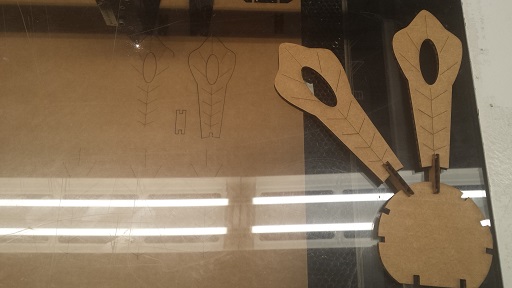
One strange thing was that when the laser cut out the feathers and the little connectors, it went around the same shape twice. It took us a long time to figure out why. It was because CarelDRAW created two overlapping images when it imported an svg file; and the laser cutter was trying to cut out both images. There might be some settings somewhere that we overlooked when importing the svg file. I will look into this next time.
Settings:
For future improvements:
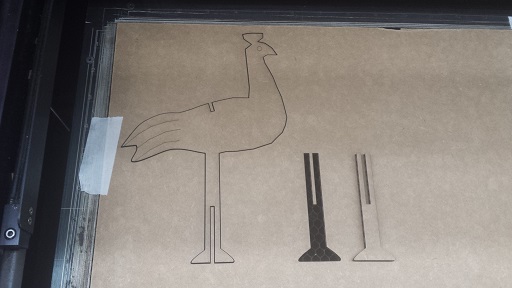
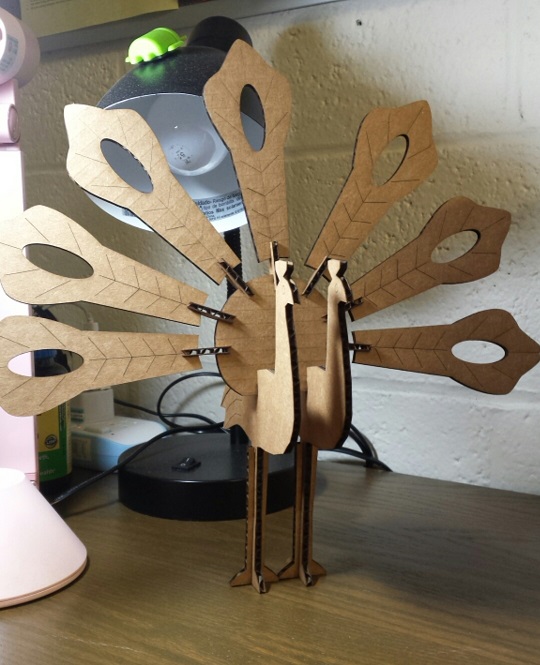
The longer notches on the legs are a little bit small so I had to squeeze the cardboard a bit to make them fit. The legs are also very thin, so it is easy for them to bend and deform if not handled carefully. The feather tail makes it easy for the peacock to topple. So if I were to make another one, I would make the legs thicker. For this one I think the best solution is to stick some weights to the feet so that the peacock can actually stand without extra support.
A general and important precaution is to ALWAYS remember to turn on the nitrogen gas because that helps put out the flame that is produced when the laser cuts the cardboard. Also, once the printing/cutting is complete, turn off the gas first before opening the lid! If you open the lid when printing is in progress, the laser will be turned off and the laser head will soon return to its home position.